How to Install Your
Energy Efficient Upgrades
Your Home Energy Savings Kit from SDG&E includes several items to help you save energy and reduce your bill. Here are some instructions and tips to help you get started.


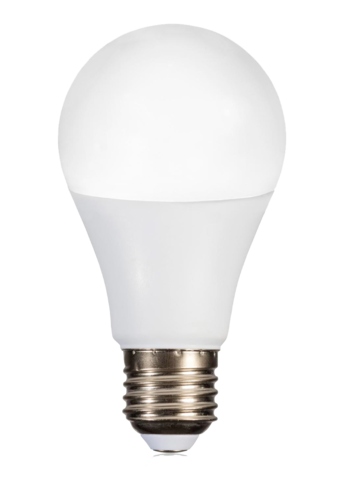
LED Lightbulbs
Tip 1: When changing your lightbulb, avoid electric shock by ensuring the lamp or fixture is turned off or unplugged. Before removing your old lightbulb, ensure it is cool to the touch. Incandescent and halogen bulbs can get very hot while in use.
Tip 2: Make sure to put your LED lightbulbs in fixtures or lamps where they will fit easily. Table and standing floor lamps are ideal locations for these new bulbs.
Tip 3: Do not allow the fixture lens, lampshade, or other attachments to press against the outside surface of your new LED bulb.
Tip 4: Installing LED lightbulbs in small, enclosed ceiling fixtures with poor ventilation may shorten their life, reducing your savings.
Tip 5: These LED bulbs are dimmable and can safely be used in fixtures controlled by dimming switches. Performance may vary depending on the type of dimming controls you have.
Tip 6: LEDs can be used in outdoor fixtures if they are protected from the elements. They also will come to full brightness immediately, unlike many types of bulbs.
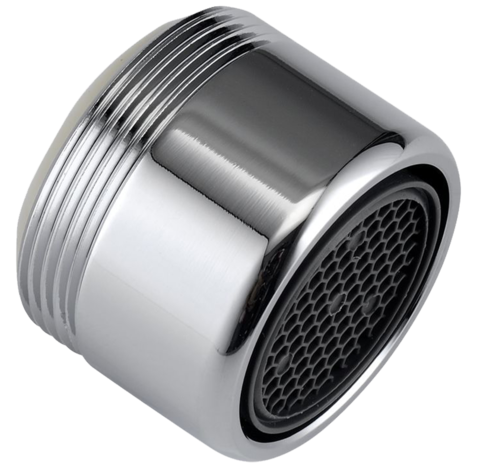
Bathroom Faucet Aerators
Before replacing your aerator, put an old towel or small cloth in the drain area of your sink under the faucet. The towel should protect the surface of your sink and guard against anything falling down the drain.
Remove the existing aerator from the faucet by unscrewing it by hand. If you need a wrench, use a small piece of cloth to protect the faucet fixture finish. Be careful to align threads between the aerator and faucet to avoid cross-threading.
INSIDE threaded faucets:
Step 1: Place the upper washer on the lower washer on top of the aerator.
Step 2: Screw your new aerator into the inside threads of your faucet.
OUTSIDE threaded faucets:
Step 1: Discard the upper washer.
Step 2: With the lower washer on top of the aerator, screw the aerator onto the outside threads.
Note: To ensure the best performance, periodically remove the aerator, soak the nozzle in hydrogen peroxide or vinegar, and re-install it.
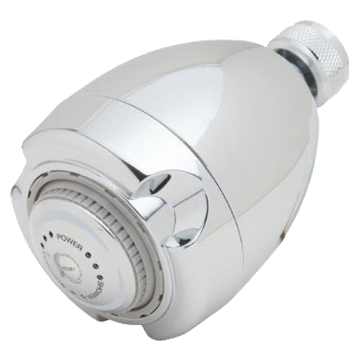
Showerhead
You will need: A small piece of cloth, wrench, pipe thread tape (also known as PTFE tape, Teflon tape, or plumber's tape), wire brush (optional)
Before replacing your showerhead, put an old towel or small cloth in the drain area of your tub under the faucet. This will protect the surface of your tub and guard against anything falling down the drain.
Step 1: Remove your old showerhead from the shower arm by unscrewing it counterclockwise. If you have trouble removing it, hold the shower arm with the wrench while you loosen the old showerhead. Protect the finish of the shower arm by placing a small piece of cloth between the wrench and the shower arm.
Step 2: Remove old tape from the threads at the end of the shower arm. If necessary, brush gently with a wire brush to remove all tape residue. Wipe all surfaces clean with a small piece of cloth.
Step 3: Turn on the water to wash out the pipe before installing your new showerhead.
Step 4: Turn off the water and dry the threads at the end of the shower arm. With the white pipe thread tape, tightly wrap the shower arm, going clockwise around all the threads of the shower arm pipe once or twice to help create a tight seal.
Step 5: Screw on the new showerhead, turning clockwise. Hand-tighten the showerhead, taking care not to over-tighten it. Test the new showerhead. If it leaks, tighten the seal with one wrench on the shower arm and a second wrench on the showerhead. Remember to protect the finish with a small piece of cloth. Tighten until snug. Do not over-tighten.
Toilet Tank Bank
Step 1: Carefully remove the lid of the toilet tank.
Step 2: Fill the Tank Bank to the fill line using tap water.
Step 3: Press the valve on the Tank Bank closed to seal the bag. This prevents water from evaporating.
Step 4: Lower the filled Tank Bank into the toilet tank between the tank wall and the intake valve. Hang the mounting bracket on the side wall of the toilet tank.
Note: If the Tank Bank interferes with the toilet’s internal mechanism, you can install the Tank Bank on the opposite wall of the tank.